You've just set up iRedMail, configured your domains, and created email accounts. Everything seems perfect until you try to send an email from your desktop client. Instead of a sent confirmation, you're staring at an error message in your mail logs:
warning: SASL: Connect to Dovecot auth socket failed: No such file or directory
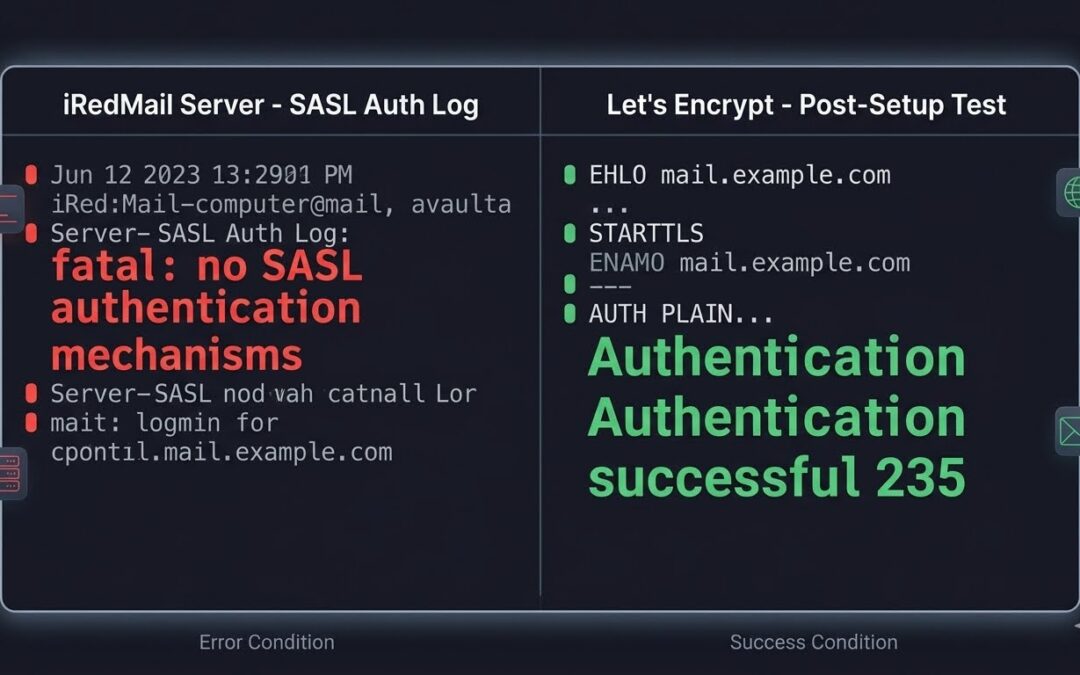
fatal: no SASL authentication mechanismsYour email server can receive messages just fine, but sending? That's a different story. You're not alone. This is one of the most common issues system administrators face after installing iRedMail, and it all comes down to a broken communication channel between Postfix and Dovecot.
In this guide, I'll walk you through exactly what's happening, why it breaks, and the precise commands to fix it permanently.
Prerequisites
Before we begin, ensure you have:
- Root or sudo access to your iRedMail server
- iRedMail installed and configured
- Basic familiarity with the command line
- Access to your mail logs (
/var/log/maillog)
Understanding the Problem
Postfix (the SMTP server) and Dovecot (the IMAP/POP3 server) need to communicate to authenticate users. When someone tries to send an email, Postfix needs to verify their username and password. It does this by asking Dovecot through a special file called a Unix socket.
When this socket is missing or has wrong permissions, Postfix cannot authenticate anyone, and email clients fail to send messages.
The error message tells us exactly what's happening:
| Error Component | What It Means |
|---|---|
SASL: Connect to Dovecot auth socket failed | Postfix can't find the communication channel |
No such file or directory | The socket file doesn't exist or is in the wrong place |
fatal: no SASL authentication mechanisms | Postfix gives up because it has no way to verify passwords |
Step-by-Step Fix
Step 1: Identify Where Your Auth Socket Actually Is
Dovecot can create the auth socket in different locations depending on your configuration. Let's find it:
# Find all authentication sockets
sudo find / -name "*auth*" -type s 2>/dev/null | grep -E "dovecot|postfix"
Typical locations include:
/run/dovecot/auth-client/var/spool/postfix/private/auth/var/spool/postfix/private/dovecot-auth
Step 2: Check Dovecot's Current Configuration
# View Dovecot's auth configuration
sudo doveconf -n | grep -A20 "service auth"
Look for a section that looks like this:
service auth {
  unix_listener /var/spool/postfix/private/dovecot-auth {
    mode = 0666
    user = postfix
    group = postfix
  }
}
The important parts are:
- Path - Where the socket will be created
- Mode 0666 - Allows read/write access
- user/group postfix - Gives Postfix permission to use it
Step 3: Configure Dovecot for Postfix Compatibility
Edit the Dovecot master configuration:
sudo nano /etc/dovecot/conf.d/10-master.confFind the service auth section and ensure it contains the correct unix_listener block:
service auth {
  # Postfix smtp-auth - this creates the socket Postfix needs
  unix_listener /var/spool/postfix/private/dovecot-auth {
    mode = 0666
    user = postfix
    group = postfix
  }

  # For user database lookups
  unix_listener auth-userdb {
    mode = 0666
    user = vmail
    group = vmail
  }
}
Note: If you're using a different distribution or custom setup, the path may vary. Common alternatives include:
/var/spool/postfix/private/auth/var/spool/postfix/private/dovecot-auth(iRedMail standard)
Step 4: Configure Postfix to Use the Correct Socket
Now tell Postfix where to find the socket:
# Set the SASL path (use the path from Step 3)
sudo postconf -e "smtpd_sasl_path = private/dovecot-auth"

# Verify the setting
sudo postconf | grep smtpd_sasl_path
Other critical SASL settings to verify:
# Enable SASL authentication
sudo postconf -e "smtpd_sasl_auth_enable = yes"

# Set the authentication type to Dovecot
sudo postconf -e "smtpd_sasl_type = dovecot"

# Restart Postfix to apply changes
sudo systemctl restart postfix
Step 5: Fix Directory Permissions
One of the most common culprits is incorrect permissions on the directory that will contain the socket:
# Create the directory if it doesn't exist
sudo mkdir -p /var/spool/postfix/private

# Set correct ownership
sudo chown postfix:postfix /var/spool/postfix/private

# Set proper permissions
sudo chmod 755 /var/spool/postfix/private
Step 6: Restart Services in the Correct Order
The order matters. Dovecot creates the socket, then Postfix uses it:
# Restart Dovecot first
sudo systemctl restart dovecot

# Wait a moment for the socket to be created
sleep 2

# Now restart Postfix
sudo systemctl restart postfix
Step 7: Verify the Socket Exists and Has Correct Permissions
# Check if the socket was created
ls -la /var/spool/postfix/private/dovecot-auth
Expected output:
srw-rw-rw- 1 postfix postfix 0 ... /var/spool/postfix/private/dovecot-authThe s indicates a socket file, and rw-rw-rw- (666) means both Dovecot and Postfix can read/write to it.
Testing Your Fix
Test 1: Local Authentication (Server Side)
# Test Dovecot authentication directly
sudo doveadm auth test yourusername@yourdomain.com
Enter your password when prompted. You should see:
passdb: yourusername@yourdomain.com auth succeededTest 2: Remote Authentication (From Your Client Machine)
From your local computer (not the server), test the SMTP authentication:
# Connect to port 465 (SMTPS)
openssl s_client -connect mail.yourdomain.com:465 -crlf
Once connected, type these commands manually:
EHLO test.local
AUTH LOGIN
Now encode your credentials in another terminal:
echo -n "yourusername@yourdomain.com" | base64
echo -n "yourpassword" | base64
Paste the encoded username, press Enter, then paste the encoded password.
Expected success response:
235 2.7.0 Authentication successfulTest 3: Check Postfix Logs
# Watch logs in real-time
sudo tail -f /var/log/maillog
Try sending a test email from your email client. You should see entries like:
postfix/smtps/smtpd[xxxx]: connect from client[IP]
postfix/smtps/smtpd[xxxx]: SASL authentication successful
Common Issues and Solutions
| Issue | Symptom | Solution |
|---|---|---|
| Socket still missing after restart | ls shows no socket | Check Dovecot config syntax: sudo doveconf -n | grep -A10 "service auth" |
| Permission denied on socket | Postfix can't access socket | sudo chmod 666 /var/spool/postfix/private/dovecot-auth |
| Wrong socket path | Postfix looking in wrong place | sudo postconf -e "smtpd_sasl_path = private/dovecot-auth" |
| Dovecot not running | Socket never created | sudo systemctl enable --now dovecot |
Email Client Configuration
After fixing SASL authentication, configure your email clients with these settings:
Apple Mail
| Setting | Value |
|---|---|
| Account Type | IMAP |
| Incoming Server | mail.yourdomain.com |
| Incoming Port | 993 |
| Incoming SSL | ON |
| Outgoing Server | mail.yourdomain.com |
| Outgoing Port | 465 (or 587) |
| Outgoing SSL | ON |
| Authentication | Password |
| Username | full@email.com |
Microsoft Outlook
| Setting | Value |
|---|---|
| Server Type | IMAP |
| Incoming Server | mail.yourdomain.com:993 |
| Encryption Method | SSL/TLS |
| Outgoing Server | mail.yourdomain.com:465 |
| Encryption Method | SSL/TLS |
| Require Authentication | Yes |
Thunderbird
| Setting | Value |
|---|---|
| Server Type | IMAP |
| Incoming Server | mail.yourdomain.com |
| Incoming Port | 993 |
| Connection Security | SSL/TLS |
| Outgoing Server | mail.yourdomain.com |
| Outgoing Port | 465 |
| Connection Security | SSL/TLS |
| Authentication Method | Normal Password |
Prevention: Automate Socket Health Checks
Add this to your monitoring system or cron to ensure the socket never breaks silently:
# Create a health check script
sudo nano /usr/local/bin/check-auth-socket.sh
#!/bin/bash
# Check if Dovecot auth socket exists and has correct permissions
SOCKET="/var/spool/postfix/private/dovecot-auth"
if [ ! -S "$SOCKET" ]; then
echo "ERROR: Auth socket missing! Restarting Dovecot..."
systemctl restart dovecot
sleep 2
systemctl restart postfix
elif [ ! -O "$SOCKET" ] || [ ! -G "$SOCKET" ]; then
echo "ERROR: Auth socket has wrong ownership! Fixing..."
chown postfix:postfix "$SOCKET"
chmod 666 "$SOCKET"
fiMake it executable and add to cron:
sudo chmod +x /usr/local/bin/check-auth-socket.sh
sudo crontab -e
Add:
*/5 * * * * /usr/local/bin/check-auth-socket.shConclusion
Postfix and Dovecot SASL authentication issues can be frustrating, but they're almost always caused by one of three things:
- Missing or incorrect socket path configuration
- Wrong file permissions on the socket or its directory
- Services starting in the wrong order
By following this guide, you've:
- ✅ Identified the correct socket location for your iRedMail setup
- ✅ Configured Dovecot to create the socket with proper permissions
- ✅ Pointed Postfix to the right socket
- ✅ Verified authentication works from local and remote clients
Your email server now has a working authentication channel, and your users can send emails from any client without mysterious "authentication failed" errors.
Additional Resources
Did This Help?
If this guide saved you hours of troubleshooting, please share it with others who might be struggling with the same issue. Have questions or suggestions? Leave a comment below!