Apple Mail throwing "Unable to verify account name or password" errors with your iRedMail server? Learn the correct settings for IMAP, SMTP, SSL, and authentication that actually work.
Suggested Featured Image Prompt:
You've followed every tutorial. You've triple-checked your username and password. But Apple Mail still refuses to connect to your iRedMail server with the frustrating message:
"Unable to verify account name or password"
Or worse: "Mail was unable to connect to the server using SSL"
You're not alone. Apple Mail is notoriously picky about email server configurations. What works perfectly in Thunderbird or Outlook often fails silently in Apple Mail.
The good news: There's nothing wrong with your server or your password. Apple Mail just requires a very specific combination of settings—one wrong field and it gives up without a helpful error message.
In this guide, I'll give you the exact settings that work with iRedMail, plus troubleshooting steps when things go wrong.
Prerequisites
- iRedMail server properly configured
- Valid SSL certificate (Let's Encrypt recommended)
- Working email account on the server
- A Mac running macOS
The Exact Apple Mail Settings for iRedMail
During Account Setup
| Field | Value |
|---|---|
| Email Address | yourusername@yourdomain.com |
| Password | Your actual password |
When asked for server settings, choose "Manual Setup" (not auto-configure).
Incoming Mail Server (IMAP)
| Setting | Value |
|---|---|
| Account Type | IMAP |
| Server | mail.yourdomain.com |
| Port | 993 |
| SSL/TLS | ON (must be enabled) |
| Authentication | Password |
| Username | yourusername@yourdomain.com (full email) |
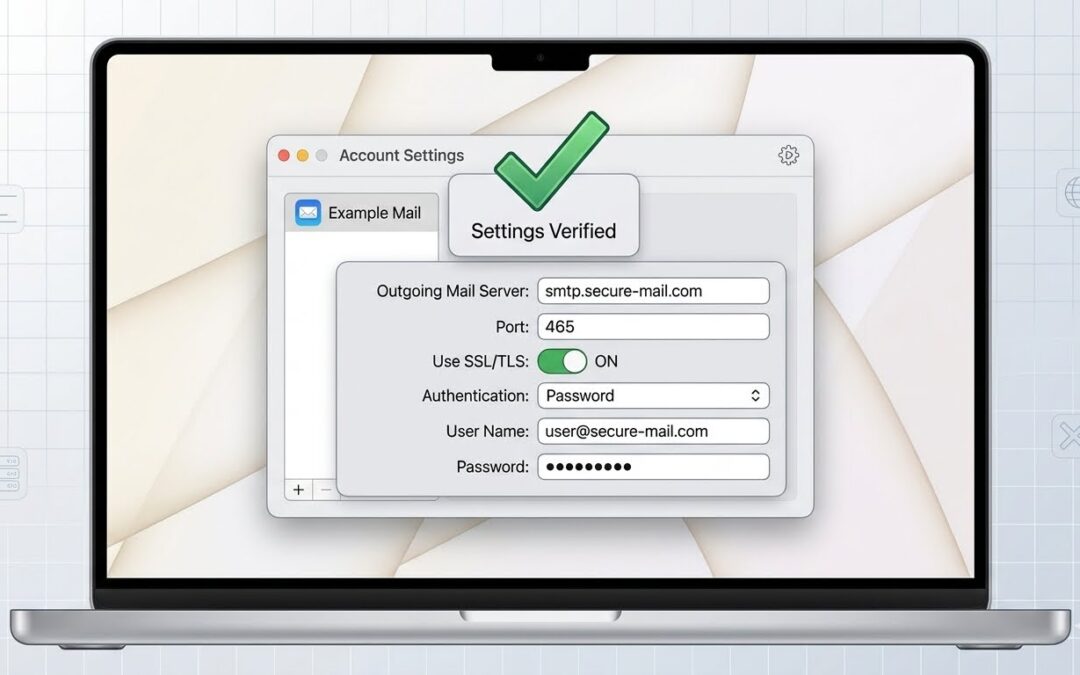
Outgoing Mail Server (SMTP)
| Setting | Value |
|---|---|
| Server | mail.yourdomain.com |
| Port | 465 (preferred) OR 587 |
| SSL/TLS | ON |
| Authentication | Password |
| Username | yourusername@yourdomain.com (full email) |
Common Mistakes and Fixes
| Mistake | Correct Setting |
|---|---|
Using just yourusername | Use yourusername@yourdomain.com |
| Port 587 with SSL OFF | Use STARTTLS or port 465 with SSL ON |
| Authentication set to "None" | Set to "Password" |
Server name with https:// | Just mail.yourdomain.com |
| Leaving SSL disabled | Always enable SSL/TLS |
Step-by-Step Setup with Screenshots (Text Description)
Step 1: Open Mail.app
Click the Mail icon in your Dock or open from Applications folder.
Step 2: Add Account
If this is your first account, Mail will prompt automatically. Otherwise go to Mail → Add Account.
Step 3: Choose Account Type
Select "Other Mail Account" (not iCloud, Exchange, or Google).
Step 4: Enter Basic Information
Name: Your Display Name
Email Address: yourusername@yourdomain.com
Password: Your actual password
Click "Sign In" (it will fail - that's expected). Then click "Manual Setup".
Step 5: Configure Incoming Server
Account Type: IMAP
Mail Server: mail.yourdomain.com
Username: yourusername@yourdomain.com
Password: Your password
Port: 993
Authentication Method: Password
SSL: ✅ Checked
Click "Sign In" again.
Step 6: Configure Outgoing Server
SMTP Server: mail.yourdomain.com
Username: yourusername@yourdomain.com
Password: Your password
Port: 465
Authentication Method: Password
SSL: ✅ Checked
Step 7: Complete Setup
Click "Sign In" and wait for Mail to verify the settings.
Troubleshooting Common Errors
Error 1: "Unable to verify account name or password"
Causes:
- Wrong username format (use full email, not just local part)
- Wrong password
- SASL authentication not working on server
Fix:
# On your server, test authentication
sudo doveadm auth test yourusername@yourdomain.com
Error 2: "Mail was unable to connect using SSL"
Causes:
- Self-signed certificate
- Wrong port (use 465, not 587, for SSL)
- Firewall blocking port
Fix:
Test from your Mac's terminal:
nc -zv mail.yourdomain.com 465
openssl s_client -connect mail.yourdomain.com:465 -crlf
Error 3: "Connection refused"
Causes:
- Firewall blocking the port
- Postfix not listening on the port
Fix:
# On your server
sudo ss -tlnp | grep -E "465|587"
Error 4: Messages stuck in Outbox
Causes:
- Authentication failed but Mail didn't show error
- Rate limiting (postfix-burst jail)
Watch server logs while sending:
sudo tail -f /var/log/maillogTesting Before Configuring Apple Mail
Run these tests from your Mac's terminal before even opening Mail:
Test 1: Basic Connectivity
nc -zv mail.yourdomain.com 465
nc -zv mail.yourdomain.com 993
Both should return succeeded!
Test 2: SSL Certificate
openssl s_client -connect mail.yourdomain.com:465 -crlfLook for Verify return code: 0 (ok)
Test 3: SMTP Authentication
openssl s_client -connect mail.yourdomain.com:465 -crlfThen type:
EHLO test
AUTH LOGIN
[base64-encoded username]
[base64-encoded password]
Expected: 235 2.7.0 Authentication successful
Test 4: IMAP Authentication
openssl s_client -connect mail.yourdomain.com:993 -crlfThen type:
a1 LOGIN yourusername@yourdomain.com yourpasswordExpected: a1 OK Logged in
Clearing Keychain Issues
If you previously tried wrong settings, macOS may have saved bad credentials:
Step 1: Quit Mail
Press Cmd + Q
Step 2: Open Keychain Access
- Open Spotlight (
Cmd + Space) - Type "Keychain Access"
- Press Enter
Step 3: Search and Delete
- Search for
mail.yourdomain.com - Delete ALL entries related to your server
- Also search for
3aapparelsor your domain name
Step 4: Restart and Re-add
- Restart Mail
- Add account again with correct settings
Alternative: Use Port 587 (STARTTLS)
If port 465 doesn't work, try port 587:
| Setting | Value |
|---|---|
| Outgoing Port | 587 |
| SSL/TLS | ON (STARTTLS) |
| Authentication | Password |
Test first:
nc -zv mail.yourdomain.com 587
openssl s_client -connect mail.yourdomain.com:587 -starttls smtp -crlf
Verification Checklist
nc -zv mail.yourdomain.com 465succeedsopenssl s_clientshowsVerify return code: 0AUTH LOGINreturns235 Authentication successfula1 LOGINreturnsOK Logged in- Keychain has no old entries for your domain
- Mail settings match the table above exactly
Conclusion
Apple Mail is particular but predictable. Once you know the exact settings that iRedMail expects, it works perfectly:
- ✅ Use full email address as username
- ✅ Use port 465 with SSL (or 587 with STARTTLS)
- ✅ Always enable SSL/TLS
- ✅ Test authentication with OpenSSL before configuring Mail
Your Apple Mail should now connect reliably to your iRedMail server.