A step-by-step guide to resolving one of the most common Postfix + Dovecot integration issues
If you're running a mail server with Postfix and Dovecot, you've likely encountered this frustrating error in your mail logs:
warning: sasl: connect to dovecot auth socket 'private/auth' failed: connection refusedThis error means Postfix is trying to authenticate users through Dovecot's SASL (Simple Authentication and Security Layer) system, but it can't find or access the authentication socket. The result? Your users can't send emails through your server.
Don't panic. This is a common issue with a straightforward fix. Let's break down what's happening and how to resolve it.
Understanding the Problem
What's Actually Happening?
When Postfix needs to authenticate a user (for SMTP authentication), it communicates with Dovecot through a Unix domain socket. This socket is essentially a special file that allows the two services to talk to each other.
The error "connection refused" means one of three things:
- The socket file doesn't exist (Dovecot isn't creating it)
- Postfix can't access the socket (permission issues)
- Dovecot isn't running or failed to start
The "Private/Auth" Confusion
Here's where many admins get tripped up: private/auth is not a folder in /etc/postfix/. It's a socket file, and the full path is typically:
/var/spool/postfix/private/authPostfix runs in a chroot jail at /var/spool/postfix by default, so when you reference private/auth in your Postfix configuration, it's looking for that file inside the chroot.
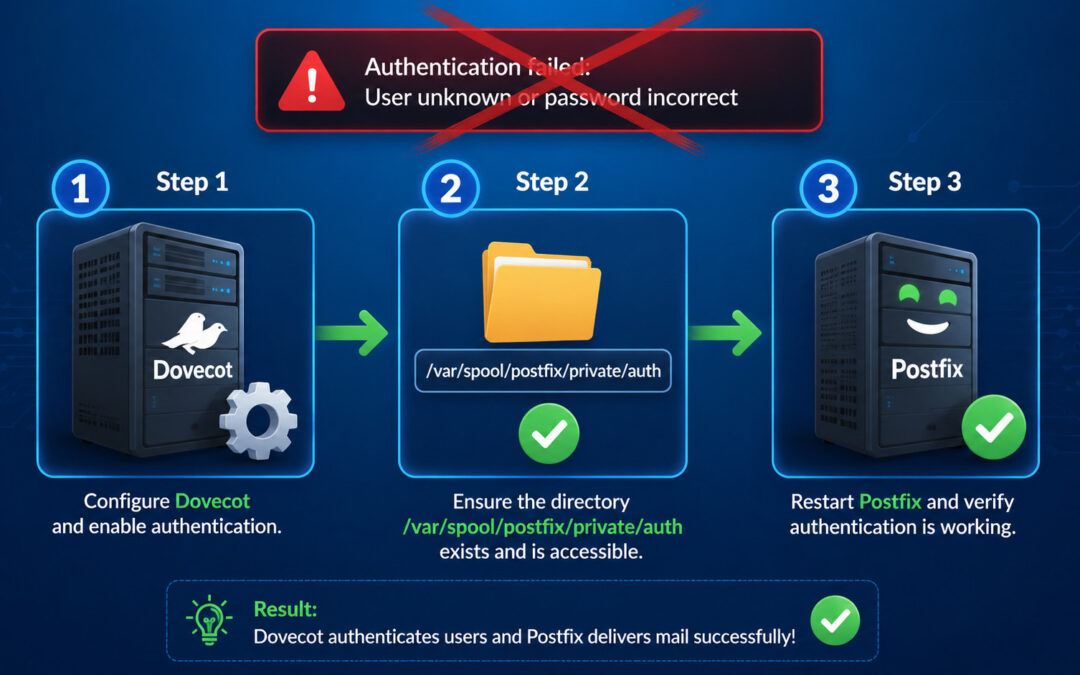
Step-by-Step Fix
Step 1: Check If the Socket Exists
First, let's see if Dovecot is actually creating the socket file:
ls -l /var/spool/postfix/private/authIf you see something like:
srw-rw---- 1 postfix postfix 0 Jan 15 10:30 /var/spool/postfix/private/authThe socket exists! Skip to Step 3 to check permissions.
If you see:
ls: cannot access '/var/spool/postfix/private/auth': No such file or directoryThe socket is missing. Proceed to Step 2.
Step 2: Configure Dovecot to Create the Socket
Dovecot needs to be explicitly told to create this socket for Postfix. Open your Dovecot configuration file:
sudo nano /etc/dovecot/conf.d/10-master.confLook for the service auth section. You need to add (or uncomment) a block like this:
service auth {
  unix_listener /var/spool/postfix/private/auth {
    mode = 0660
    user = postfix
    group = postfix
  }
}
Important: The path must be exactly /var/spool/postfix/private/auth (not just private/auth), because we're specifying the absolute path from Dovecot's perspective.
After saving the file, restart Dovecot:
sudo systemctl restart dovecotNow check if the socket was created:
ls -l /var/spool/postfix/private/authStep 3: Check and Fix Permissions
If the socket exists but you're still getting the error, the permissions are likely wrong. The socket should have:
- Owner:
postfix - Group:
postfix - Permissions:
0660(read/write for owner and group)
You can fix permissions with:
sudo chown postfix:postfix /var/spool/postfix/private/auth
sudo chmod 660 /var/spool/postfix/private/auth
Step 4: Verify Postfix Configuration
Check your Postfix main.cf file:
sudo nano /etc/postfix/main.cfEnsure these lines are present and correct:
smtpd_sasl_auth_enable = yes
smtpd_sasl_type = dovecot
smtpd_sasl_path = private/auth
Note: The path is private/auth (relative to the chroot), not the absolute path we used in Dovecot's configuration.
After making any changes, restart Postfix:
sudo systemctl restart postfixStep 5: Verify Dovecot Is Running
Sometimes the simplest explanation is the right one. Check if Dovecot is actually running:
sudo systemctl status dovecot
sudo journalctl -u dovecot -n 20 --no-pager
If Dovecot isn't running, start it:
sudo systemctl start dovecot
sudo systemctl enable dovecot  # To start automatically on boot
Testing Your Fix
After applying these changes, test the authentication:
# Test the socket connection
telnet localhost 25
EHLO test.com
# Look for "AUTH" in the response

# Test authentication manually
# You can use tools like swaks or openssl to test
Check your mail logs for errors:
sudo tail -f /var/log/mail.log
# or on some systems:
sudo tail -f /var/log/maillog
You should no longer see the "connection refused" error.
Troubleshooting Cheat Sheet
If the socket still isn't created:
- Check Dovecot's main configuration:
sudo doveconf -n | grep -A 10 "service auth"Verify the unix_listener configuration is present.
- Check Dovecot's master configuration:
sudo cat /etc/dovecot/dovecot.confEnsure it includes the conf.d directory.
- Check for syntax errors:
sudo doveconf -nThis will show configuration errors.
If Postfix can't access the socket:
- Check if Postfix is running chrooted:
postconf -n | grep chrootIf you see chroot = y (or it's the default), the path in smtpd_sasl_path should be relative to /var/spool/postfix.
- Check directory permissions:
ls -la /var/spool/postfix/private/Ensure the private directory is accessible to the postfix user.
- Verify Postfix supports Dovecot SASL:
postconf -aLook for dovecot in the output.
Preventing Future Issues
1. Set up monitoring
Add a simple check to your monitoring system:
#!/bin/bash
if [ ! -S /var/spool/postfix/private/auth ]; then
    echo "Dovecot auth socket missing!" | mail -s "Alert" admin@example.com
fi
2. Create a startup dependency
Ensure Dovecot starts before Postfix:
sudo systemctl enable dovecot
sudo systemctl disable postfix
sudo systemctl enable postfix
On systemd systems, you can also add:
sudo systemctl add-requires postfix dovecot3. Document your configuration
Save a copy of your working configurations:
cp /etc/dovecot/conf.d/10-master.conf /root/dovecot-master.conf.backup
cp /etc/postfix/main.cf /root/postfix-main.cf.backup
Quick Reference: Common Paths
| Service | Configuration File | Socket Path |
|---|---|---|
| Dovecot | /etc/dovecot/conf.d/10-master.conf | /var/spool/postfix/private/auth |
| Postfix | /etc/postfix/main.cf | private/auth (relative) |
Still Stuck?
Here are a few advanced troubleshooting steps:
Check AppArmor or SELinux
If you're running SELinux or AppArmor, they might be blocking access:
# For SELinux:
sudo setenforce 0  # Temporarily disable to test
# Check the logs:
sudo ausearch -m avc -ts recent

# For AppArmor:
sudo aa-status | grep dovecot
sudo journalctl | grep apparmor
Strace for Deep Debugging
If you're really stuck, you can trace what Postfix is doing:
sudo strace -f -e trace=connect,openat postfix startCheck for Conflicting Configurations
Make sure you don't have multiple Dovecot instances running:
sudo ps aux | grep dovecotOr conflicting configurations:
sudo find /etc/dovecot -name "*.conf" -exec grep -l "unix_listener" {} \;Final Thoughts
The "SASL: connect to dovecot auth socket failed" error is frustrating but almost always fixable. The key is understanding that:
- Dovecot creates the socket - it must be configured to do so
- Postfix finds the socket - it must be in the right location with correct permissions
- Both services must be running - and Dovecot must start before Postfix
Most of the time, simply adding the unix_listener configuration to Dovecot and restarting both services resolves the issue. When it doesn't, the troubleshooting steps above will help you identify the specific problem.
Did this guide help you? Share your experience in the comments below! If you encountered a different solution that worked for you, I'd love to hear about it.
Keywords: Postfix Dovecot SASL authentication, mail server configuration, SMTP auth, Dovecot auth socket, Postfix connection refused